 The summer after I graduated college, I enrolled in a language program at Yonsei University, i.e. party time in Seoul. It was quite a summer and while I did return home speaking Korean fluently, it was not because I went to class everyday (I did), but because I spent the weekends with my relatives where I was forced to stammer through my Korean.
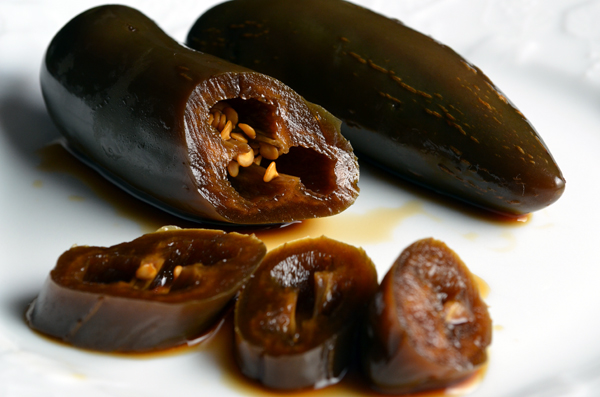
Food was great in Korea, but I particularly loved breakfast. No muffins, waffles, or pastries, but instead a typical breakfast was a bowl of brothy soup, rice, and banchan. One weekend I stayed with my great aunt and her family in Inchon, a coastal town southwest of Seoul. The first time I had manil jangatchi was at her house. I can’t remember whether the first time was at lunch or dinner, but I could not get enough. I must’ve had the equivalent of a whole bulb during that first meal. The salty, tangy, and crunchy morsels were so addictive, so perfect. The following morning, breakfast was waiting for me at the table. I scanned the spread, smiled sheepishly, and quietly asked my aunt for the pickled garlic. I could tell from her chuckle that the banchan was not typically served with breakfast, but she was happy to oblige her American niece.
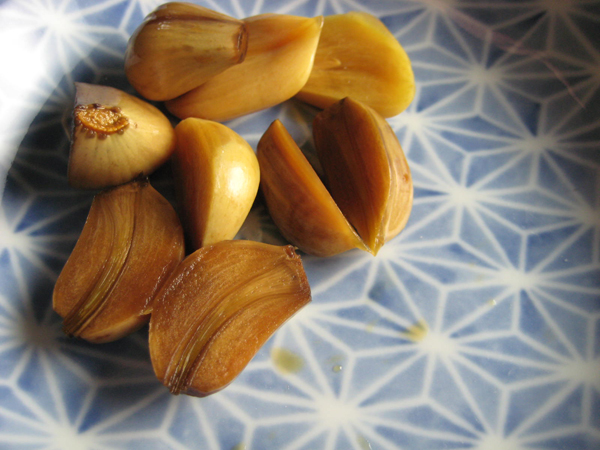
It’s been over 20 years since that summer and my Korean has regressed back to the pre-school level, but my cravings for these pickled cloves are still strong. Since then I’ve sampled some from various Korean markets, but always found them too sweet. Finally, after all these years, I actually made a jar a couple of months ago. I crossed my fingers as I sampled one amber colored clove and was almost instantly transported back to that summer in my great aunt’s house.
Manil Jangatchi
8-10 garlic bulbs
1 1/2 cups soy sauce
1 cup water
1 1/2 cup vinegar
2 tablespoons sugar
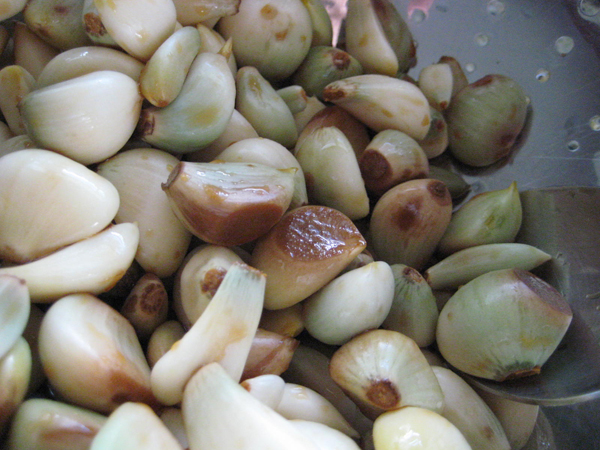
1 – Peel garlic cloves. Watch television or listen to music while doing this. Or try this method and let me know if it worked for you: http://www.saveur.com/article/Kitchen/video-How-to-Peel-a-Head-of-Garlic-in-Less-Than-10-Seconds
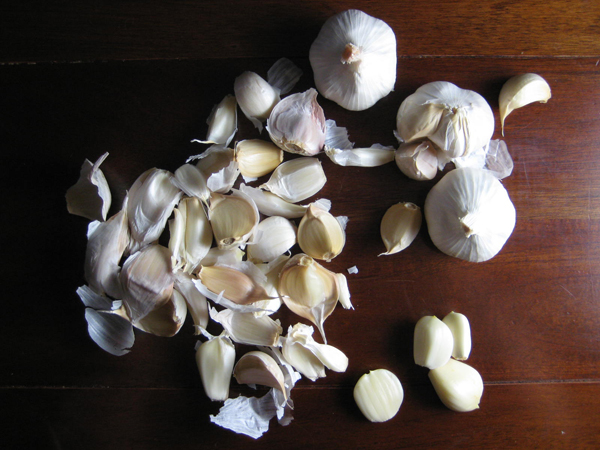
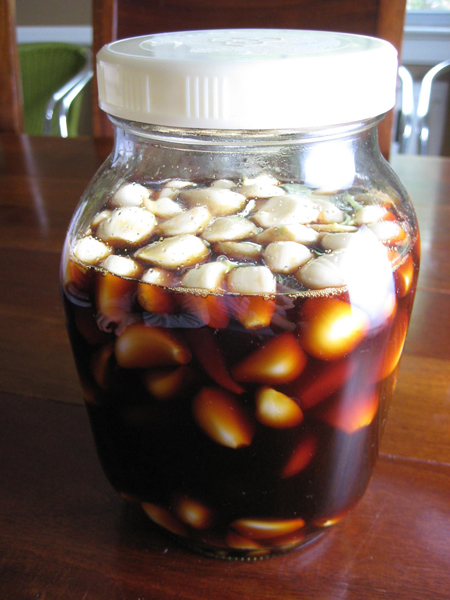
2 – Place cloves in a jar with a screw-top lid that has at least a half-gallon capacity. Just make sure there’s about 1-2 inches of space above the cloves.
3 – Mix the remaining ingredients in a medium saucepan. Taste and adjust ingredients to your liking.
4 – Bring to a boil and let cool.
5 – Pour the cooled liquid into the jar. Make sure the liquid completely covers the cloves.
5 – Secure the lid and let the garlic sit at room temperature for about 5 days.
6 – Now this is the part my mom and grandmother insist on. Drain the cloves and pour only the liquid into a saucepan. Bring the liquid to a boil and let cool. Please note that the cloves will take on a bluish-greenish tinge after a few days, but do not worry, it is not mold and it’s just natural part of the pickling process. Click here for an explanation.
7 – Place the cloves back in the jar and then pour the cooled liquid back into the jar.
8 – Secure the lid and let the garlic mature at room temperature for about 20-25 days or until the cloves turn a light brown color.
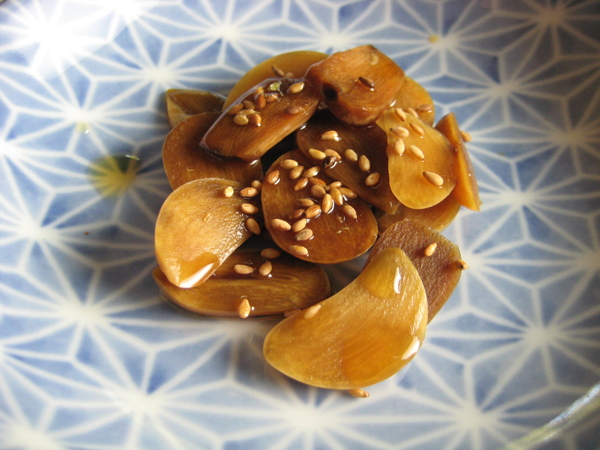
9 – You may eat it whole or you can cut the cloves into thin slices, drizzle a bit of sesame oil on top, and garnish with some roasted sesame seeds.
10 – The jangatchi can be safely stored at room temperature in a cool, dark, place or in the refrigerator.
Winner of blogiversary giveaway: The two winners were selected by random.org and they are: Heather at Farmgirl Gourmet and Bret Lobree! Congratulations and enjoy your copy of Kimchi Chronicles!
